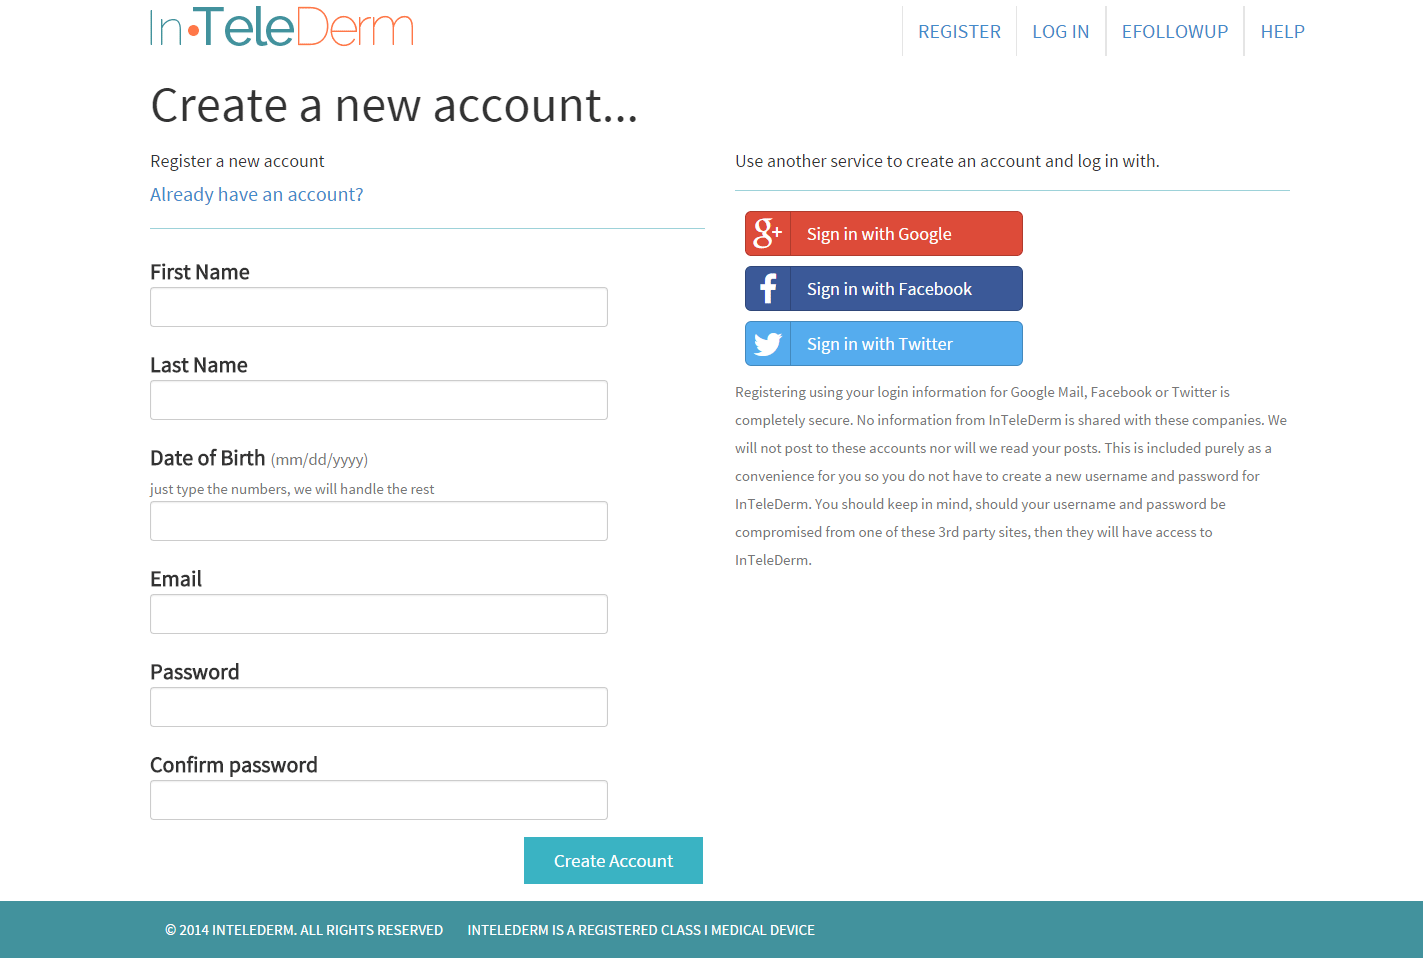
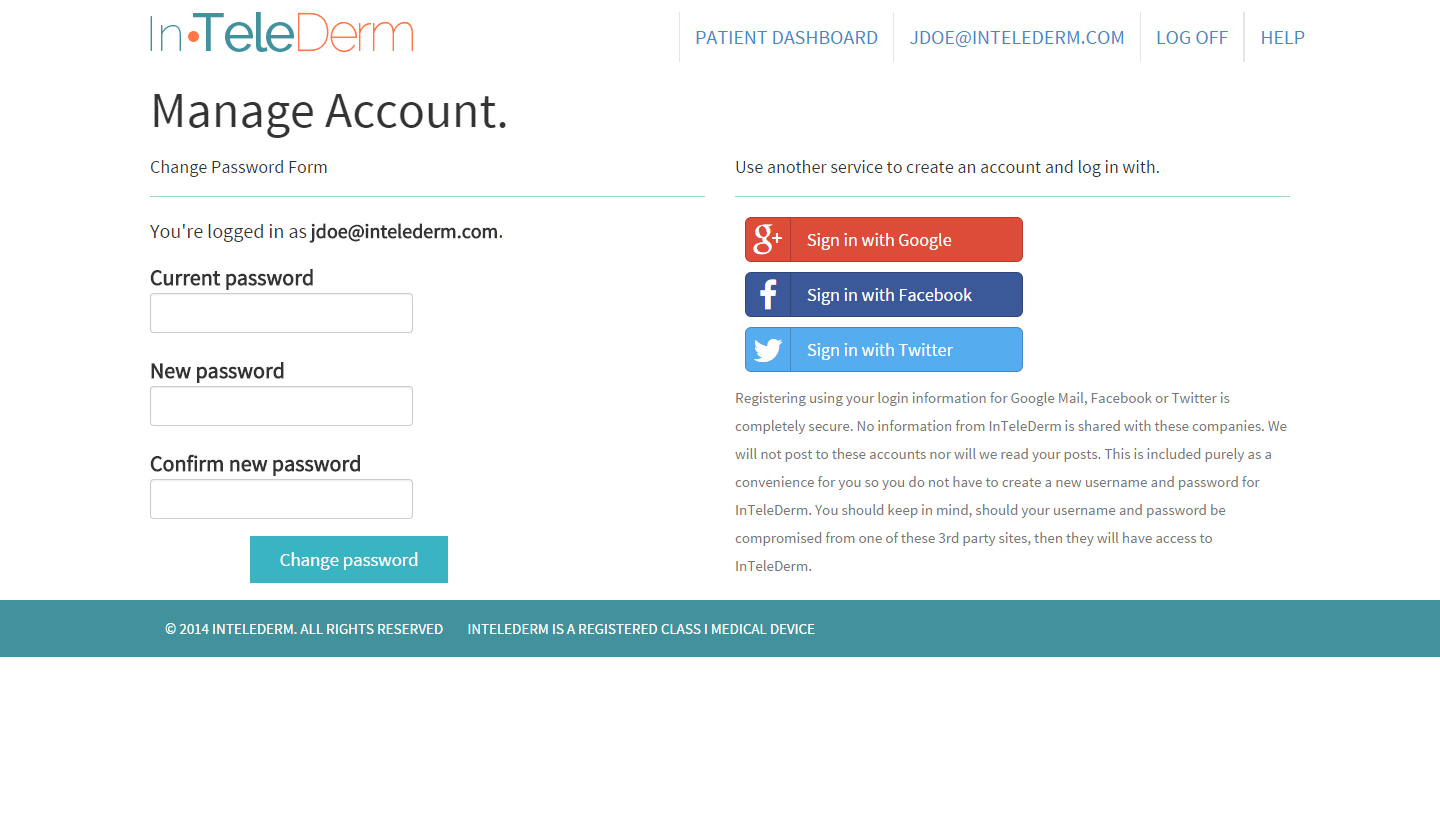
Welcome to InTeleDerm, Your online dermatologist. InTeleDerm allows you to be seen by a dermatologist without the hassle of going to a doctor's office. The first step to using InTeleDerm is to register for an account. This can be done by clicking on the Register link at the top of the page. To register for InTeleDerm please fill out the information on the left or click one of the options on the right to create an account using your Google, Facebook, or Twitter login information. When creating a password for InTeleDerm your e-mail address will be your username and passwords must be at least 8 characters in length and consist of a number, a special character, an upper case and a lower case letter.
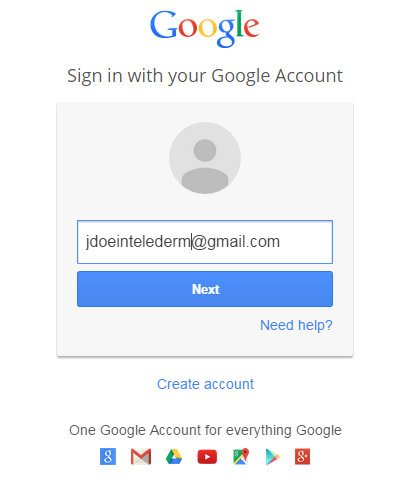
If you choose to register with your Google account information, in the window that pops up, log in to Google with your Google account information.
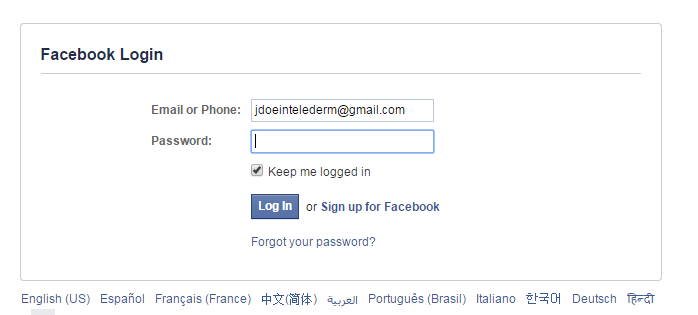
If you choose to register with your Facebook account information, in the window that pops up, log in to Facebook with your Facebook account information.
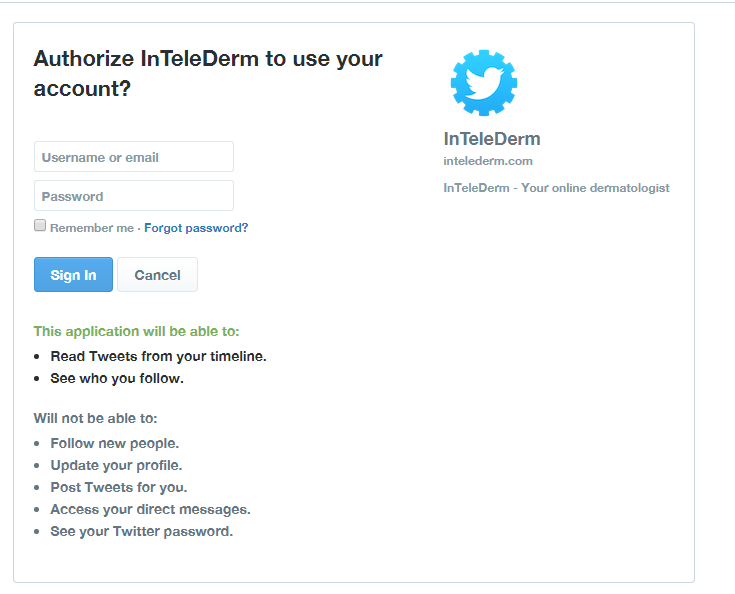
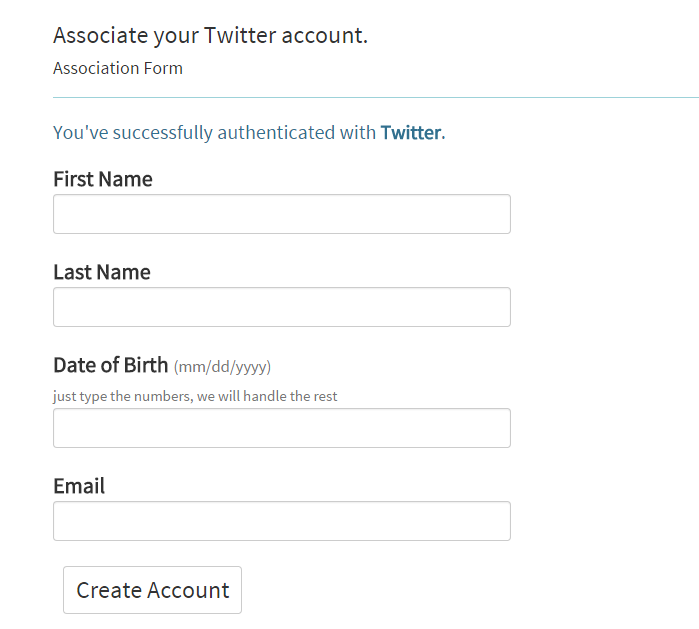
If you choose to register with your Twitter account information, in the window that pops up, log in to Twitter with your Twitter account information.
If you choose one of the third party accounts, after you have logged in to their account, you will be taken back to InTeleDerm where you will fill out your personal information and associate your InTeleDerm account with your chosen social network account.
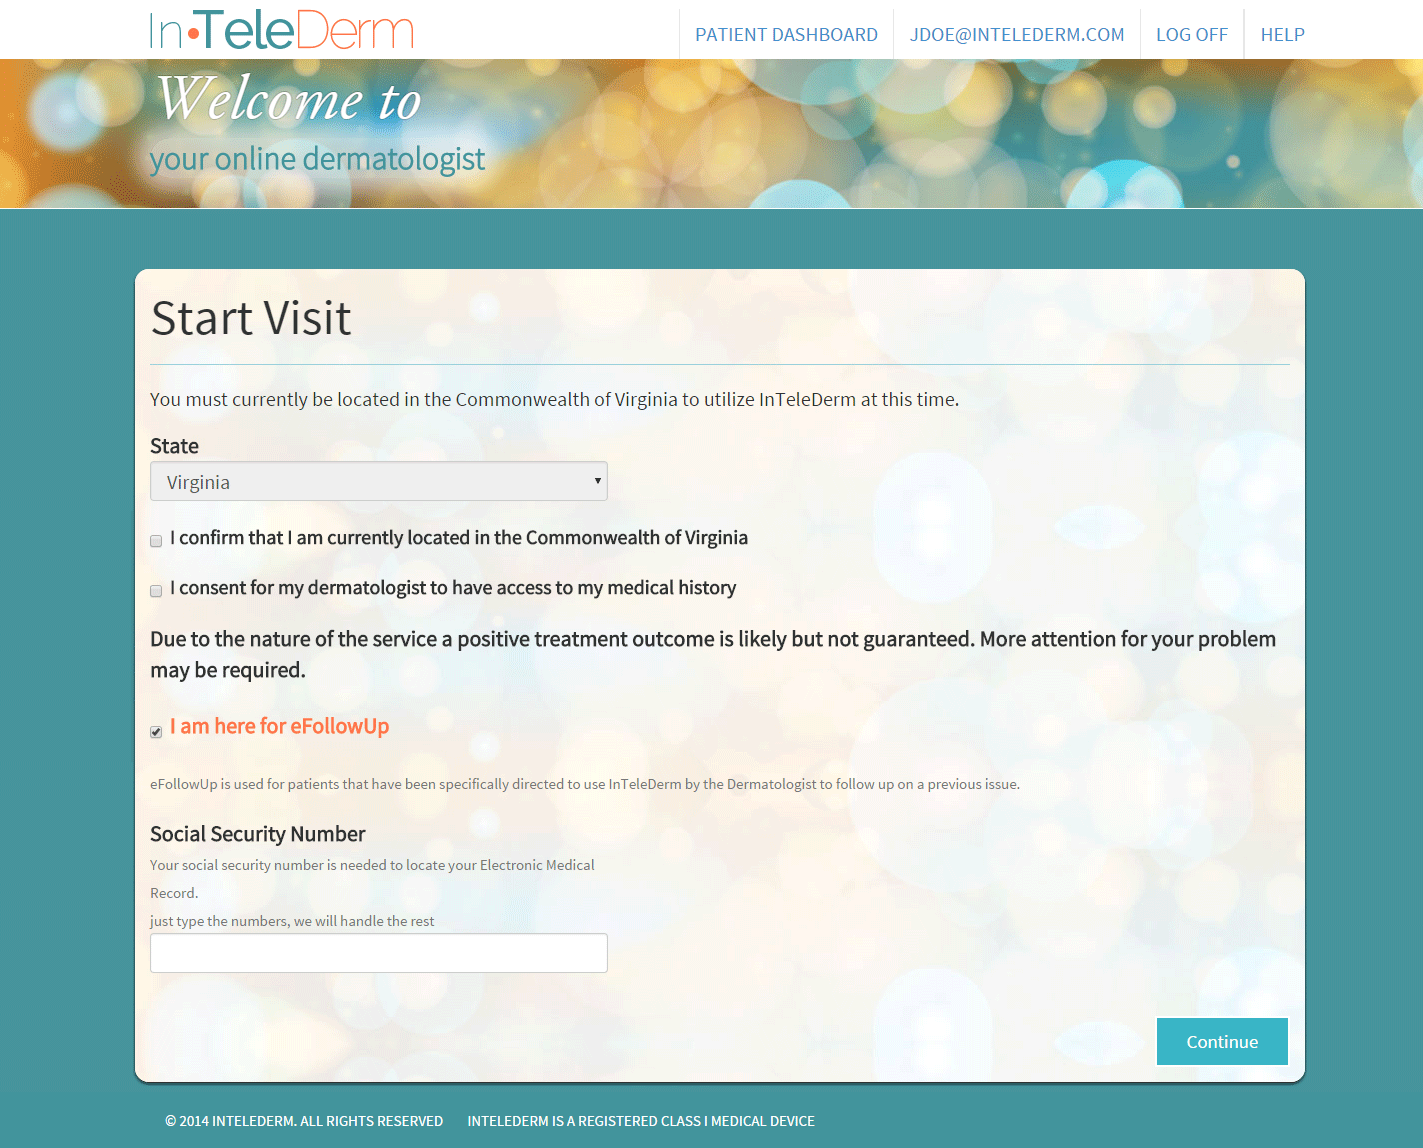
The first time you create a case you will be presented with the Start Visit page. Currently we are only located in the Commonwealth of Virginia. If you are not physically present in the Commonwealth of Virginia at the time you are creating the case, then you are not able to utilize InTeleDerm at this time. In order to proceed you must confirm that you are located in the Commonwealth of Virginia and consent to your dermatologist having access to your medical history.
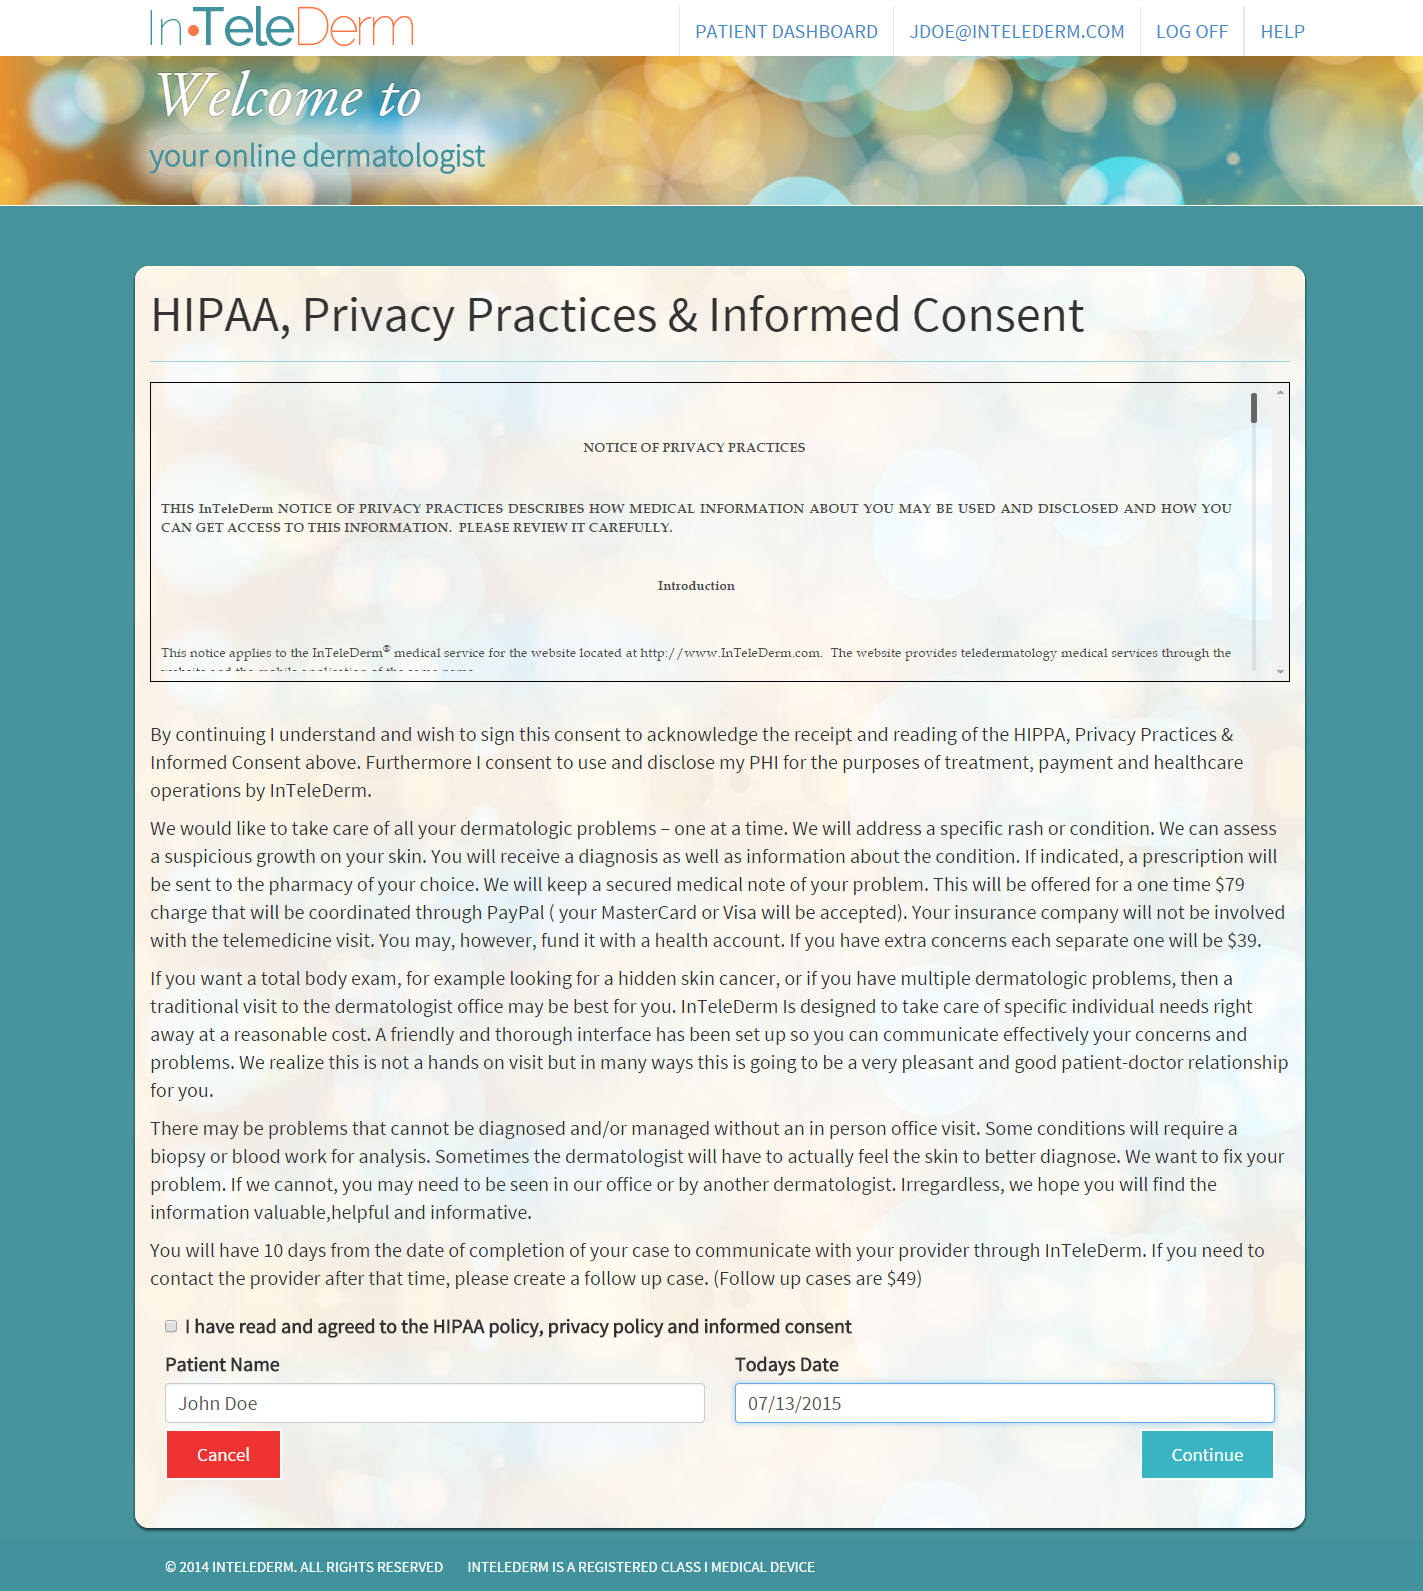
The first time you create a case, and once a year there after, you will be presented with the HIPAA and Privacy Practices page. Please read this and check that you have read and agree to the policy. You must scroll to the bottom of the Notice of Privacy Practices section before you will be allowed to continue.
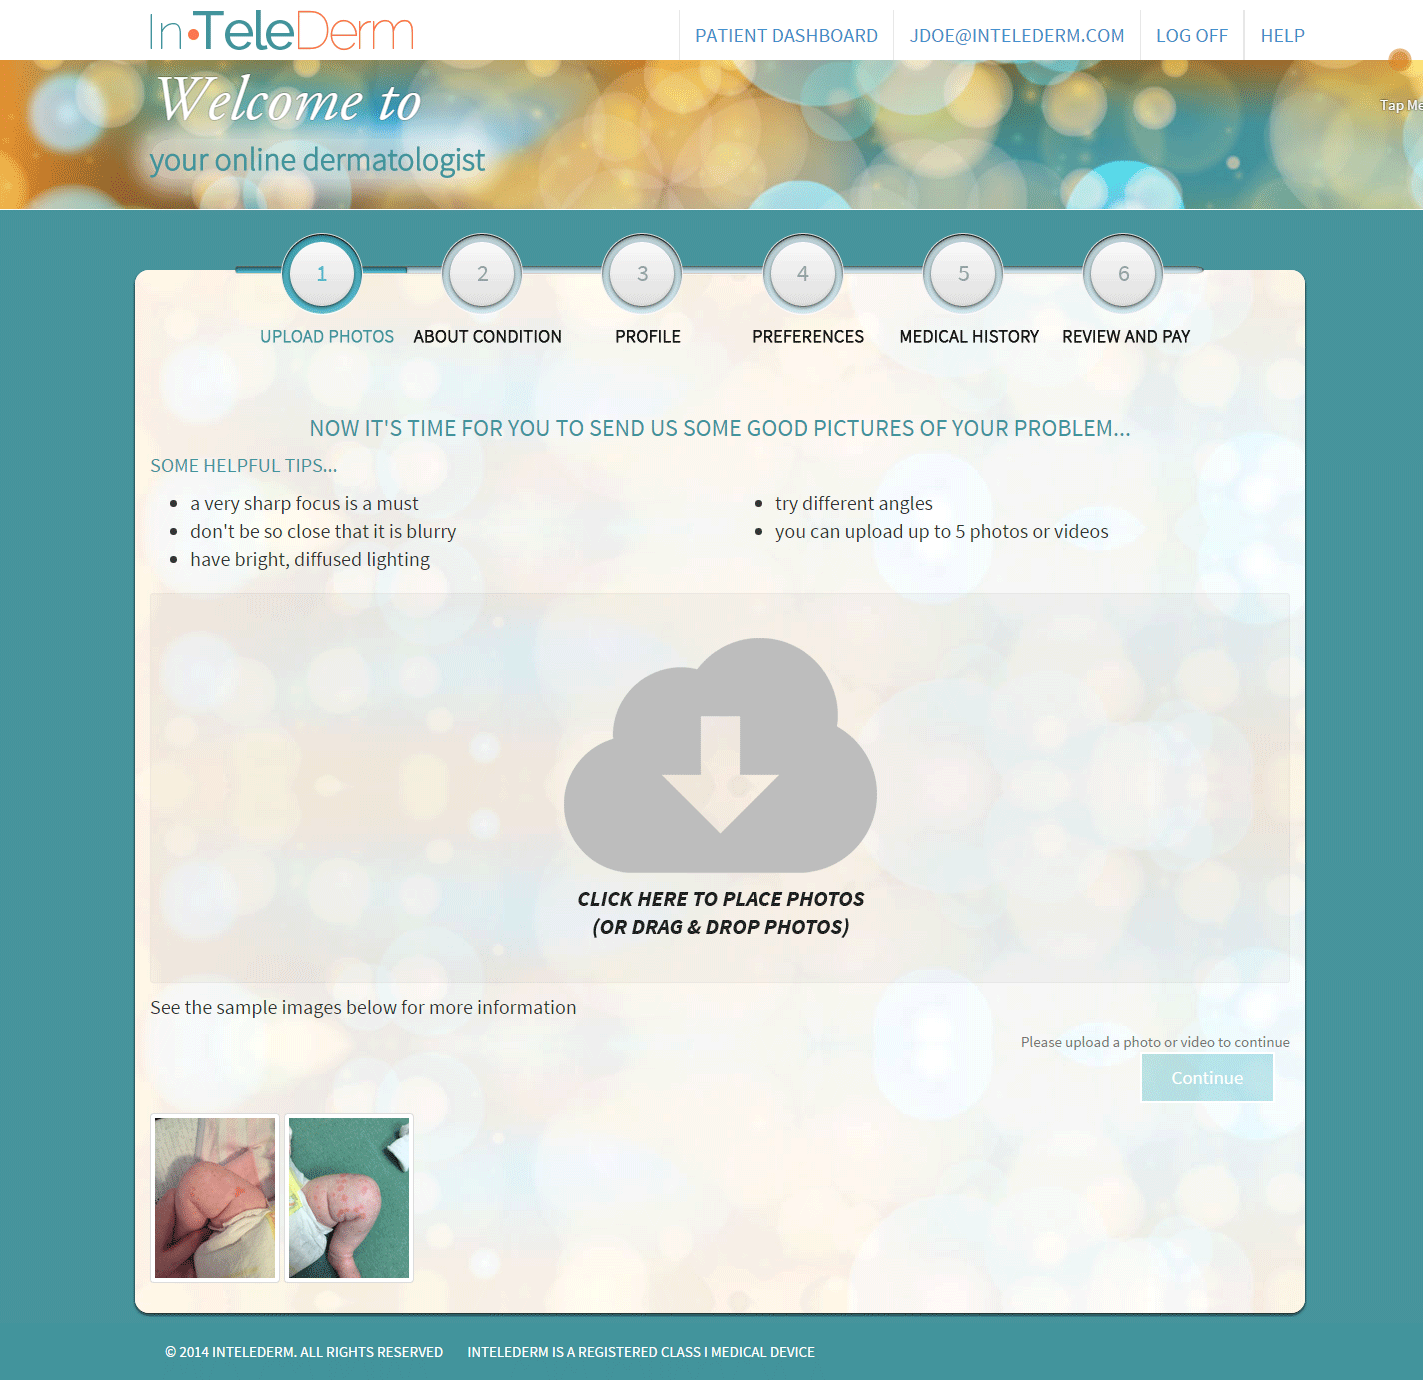
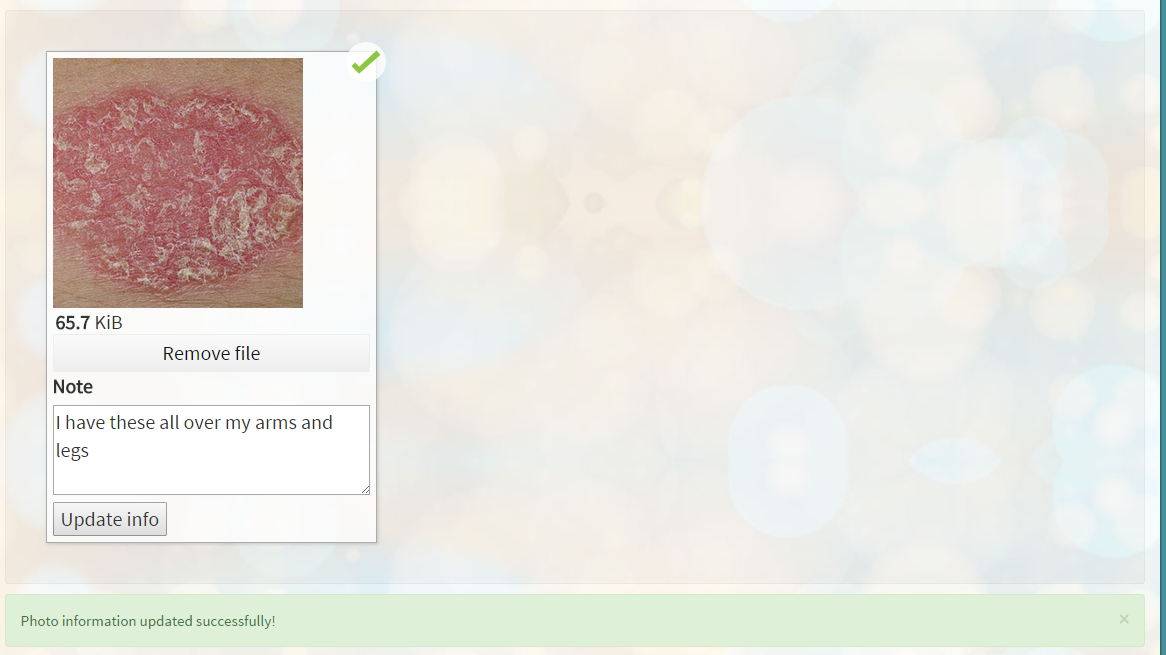
For each case you create you will begin by uploading a few photos or brief videos of your concern. The higher resolution the photo, the better your chances of a successful diagnosis. You must upload at least one photo before you can continue.
After successfully uploading a photo or video there will be a green check mark noting success. A red X means there was some sort of error uploading your photo or video. If you decide you don't want to keep this photo or video for your case you can click the Remove file button to delete it. Optionally you can add a note about your photo or video. If you add a note, press the Update info button. Once the info has been updated, you will see a green alert stating that your photo information was updated successfully.
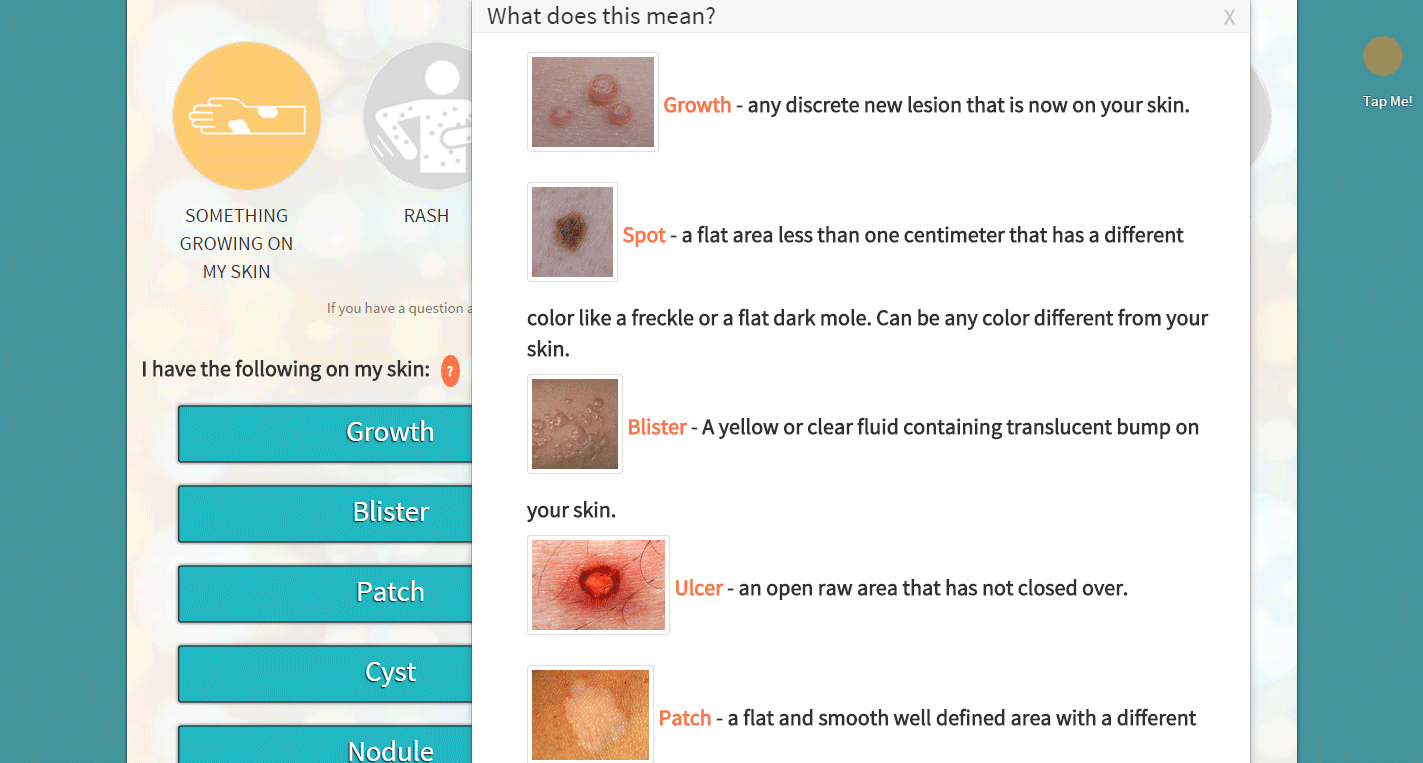
The next step in creating your case is to choose what type of concern you are having. Click on the concern that is most closest to what you are experiencing. Based on which you choose, a set of questions that relate to that concern will appear.

If you have questions about what a particular term means, click on the ?. This will reveal pictures to show you what we mean for each term.
Please try to answer all of the questions to the best of your abilities. The more information you give, the better the likelihood of a successful diagnosis. For certain questions, if you answer yes, it will reveal a follow up question.
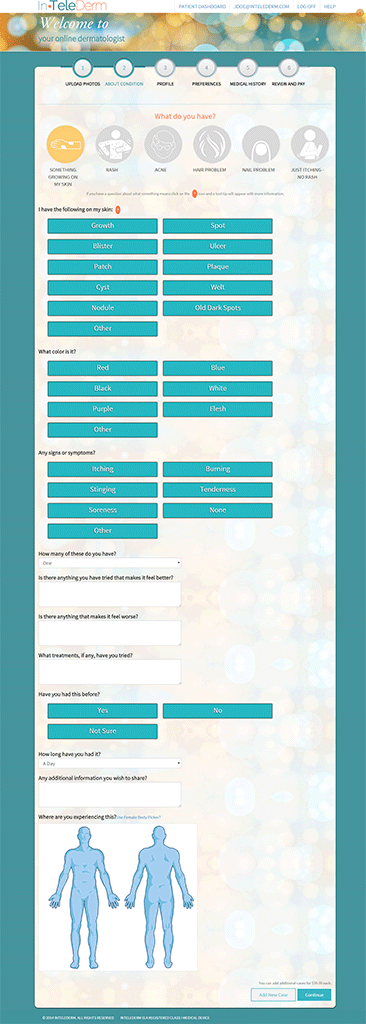
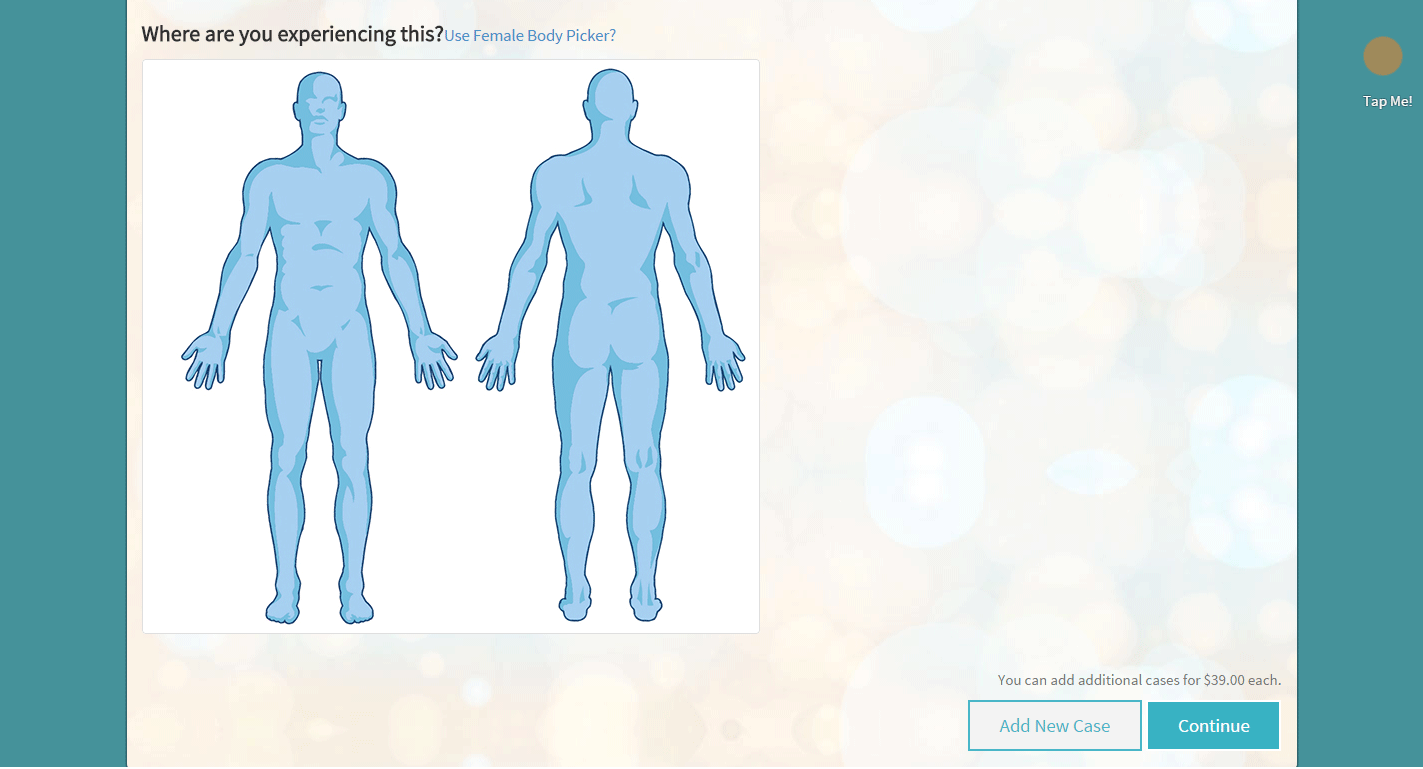
After you've answered the question, click on the area of the body where you are experiencing your concern. You can click on multiple body locations. Once you are done filling out this case, you can create an additional case. If you don't want to create an additional case, press continue to move on.
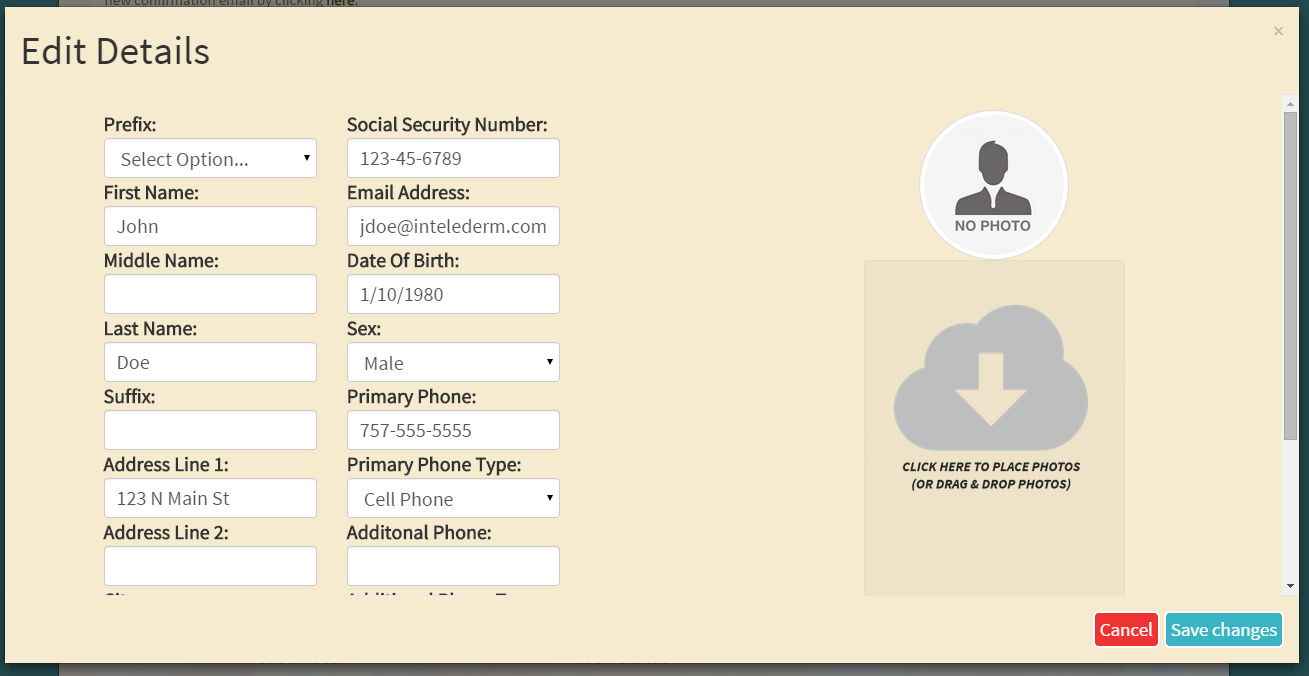
The next step will be to fill out your profile information. This information is required for any medications that may be prescribed for you. We utilize DoseSpot to pull up your prescription drug insurance. This will help us pick the best medications for you.
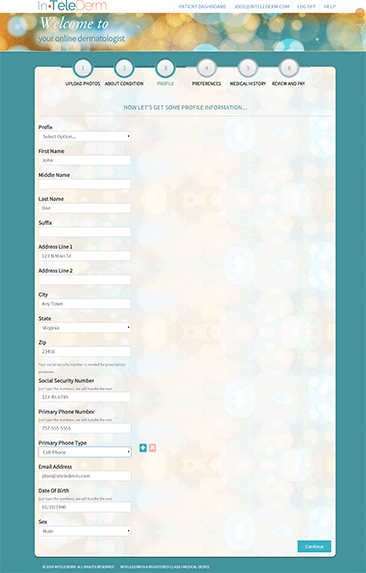
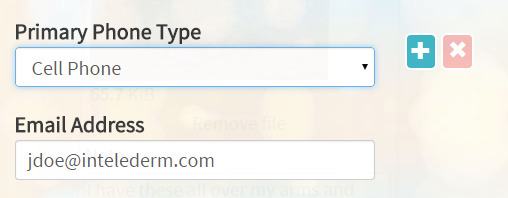
If you want to put in more than one phone number you can click on the blue plus button. If you need to remove a phone number, click on the red x button. Choose which phone number type your primary phone number is. You must enter at least one phone number. If you choose to enter a cell phone number, in the next step you will be able to set a preference to receive text messages with case updates. When you are done, choose continue to move on.
The next step is to fill out your preferences. If you want us to send a copy of your records to your primary care physician, please enter your primary care physician's information.
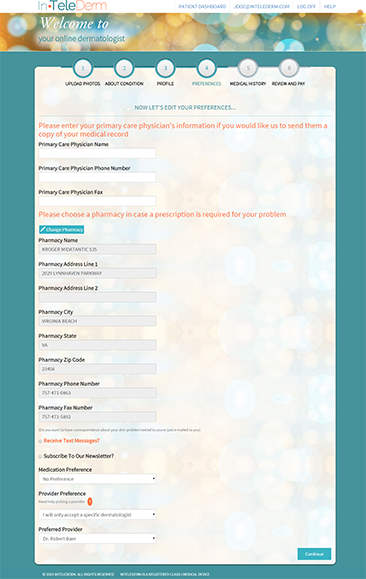
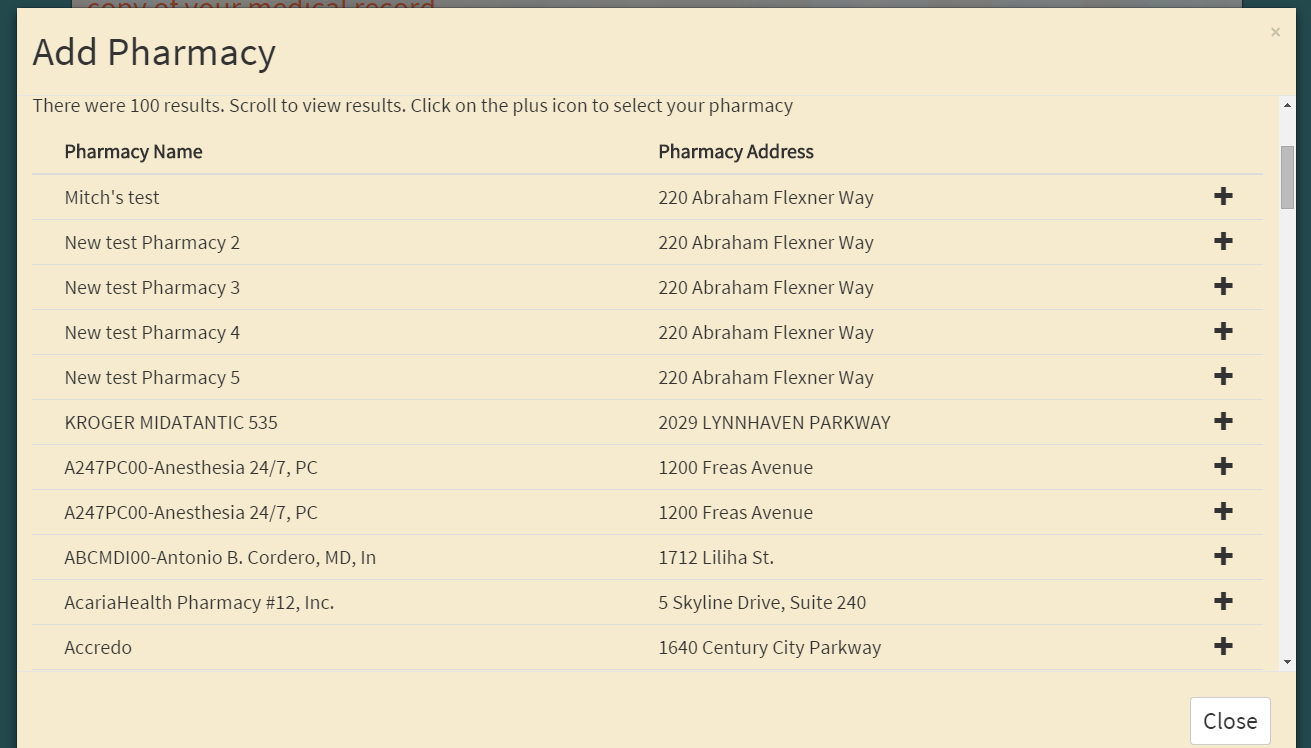
To select your preferred pharmacy, click the Add Pharmacy button. This will pop up a window for you to search for your pharmacy. Enter your city and state, or zip code and optionally the pharmacy name and press search.
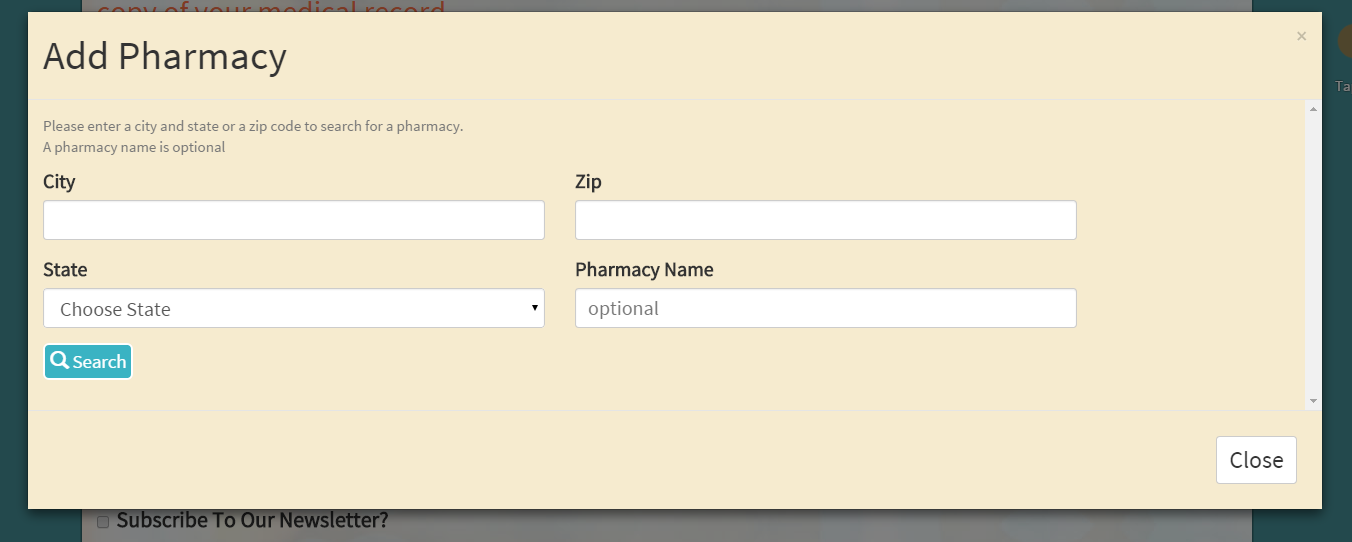
This will search through a list of over 60,000 pharmacies. The ones that match your search criteria will be displayed. Scroll through and click on the plus to select your pharmacy.
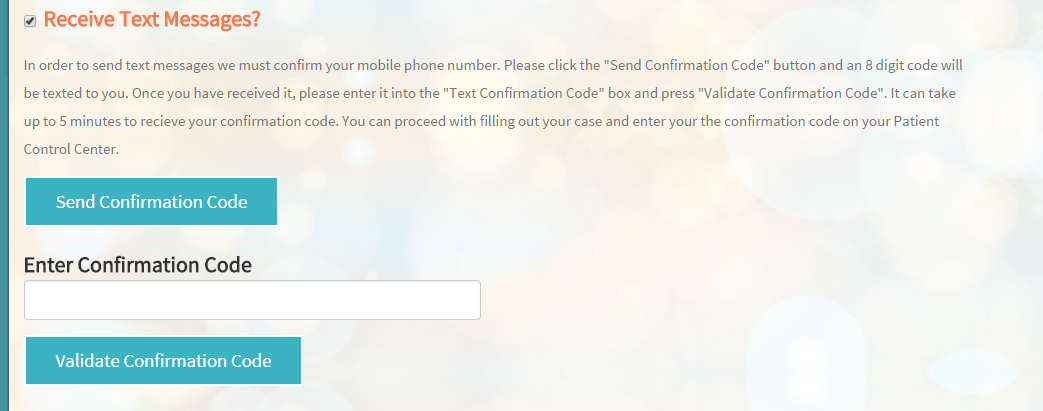
If you entered a cell phone in your profile, you can choose to receive text message notifications whenever there is an update to your case. If you choose to receive text message notifications, we will need to send you a confirmation code to verify your cell phone number. When you request a confirmation code, an 8 digit code will be texted to you. Enter in the 8 digit code into the confirmation box. The code is not case-sensitive, that is, you can enter lower case letters or capital letters.
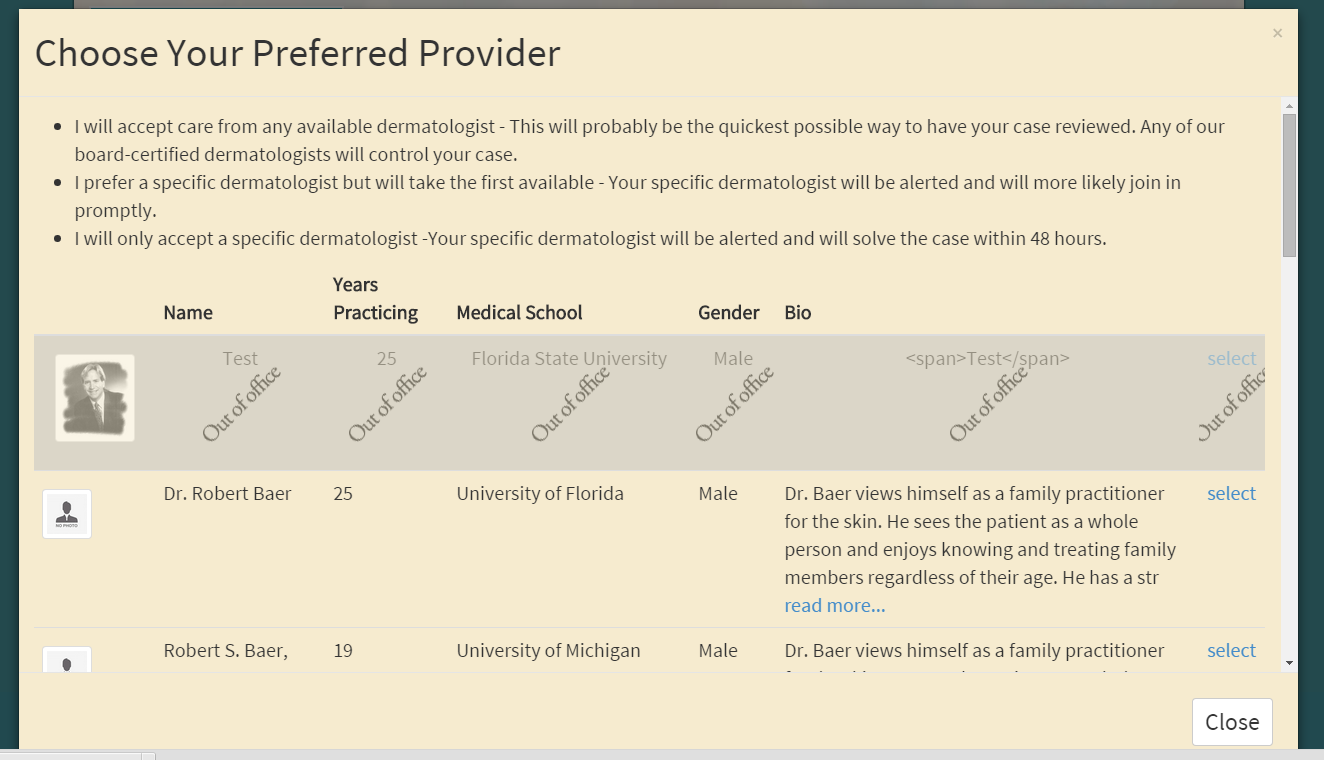
Next you need to choose your provider preference. Unless you are following up with a specific provider, it is recommended to choose the first available provider. This will allow you to get the fastest results.

If you click on the ? a window will pop up with more information about the various providers to help you decide on a provider. If a provider is not accepting patients at the time you are creating your case, they will be listed as out of office.
After you have selected your preferences, you next need to fill out your medical history. This includes any medication you are taking, any drug allergies you may have and any surgeries you've had in the past. You should also select any items you or your family have had in the past.
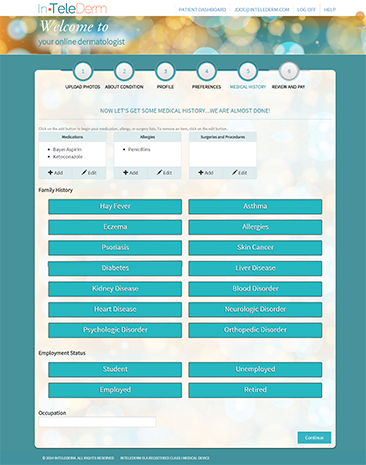
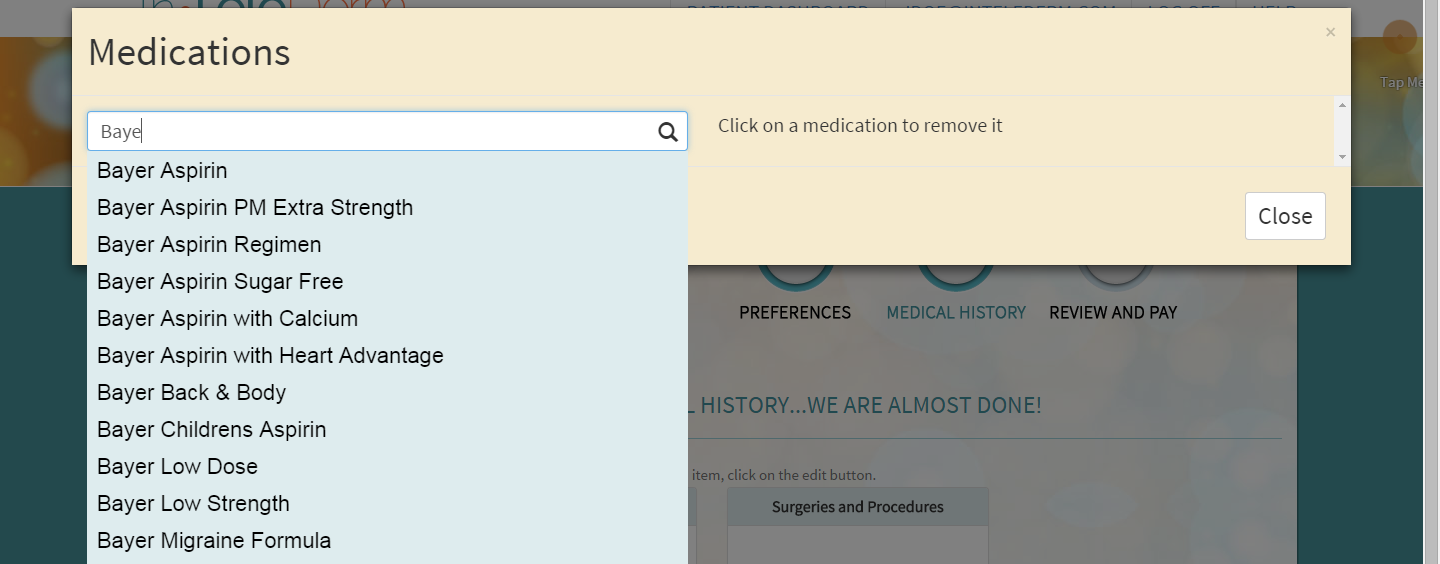
To enter your medications, search for a medication by entering at least 3 letters of the medication. Once you've entered at least 3 letters a list of medications will appear for you to choose from. Click on the medication name.
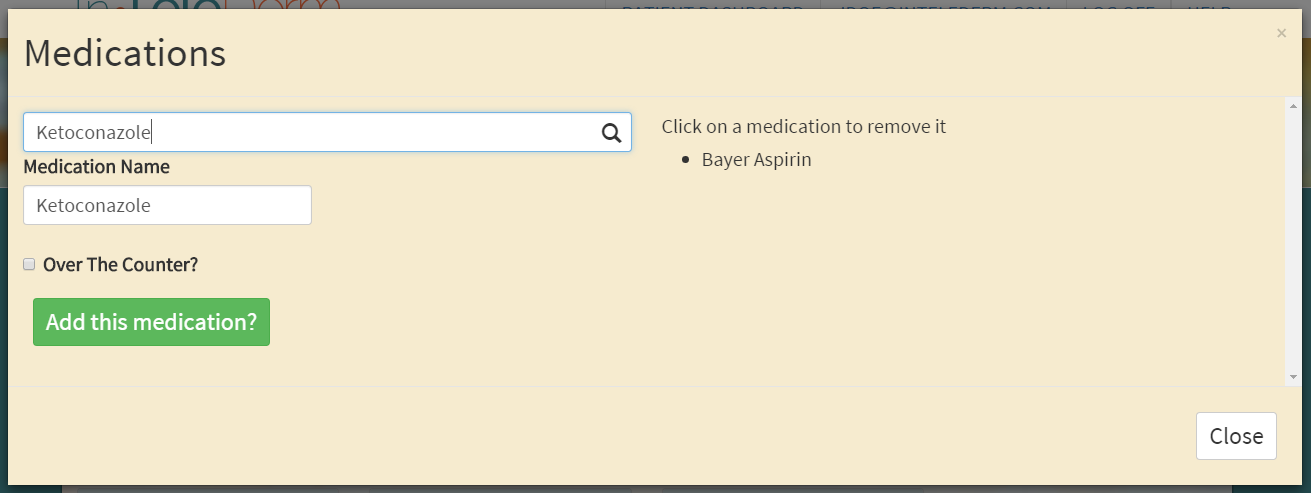
You can then choose whether the medication is taken over the counter or not. If you need to remove a medication, either because it is an error, or you are no longer taking the mediation, just click on it.
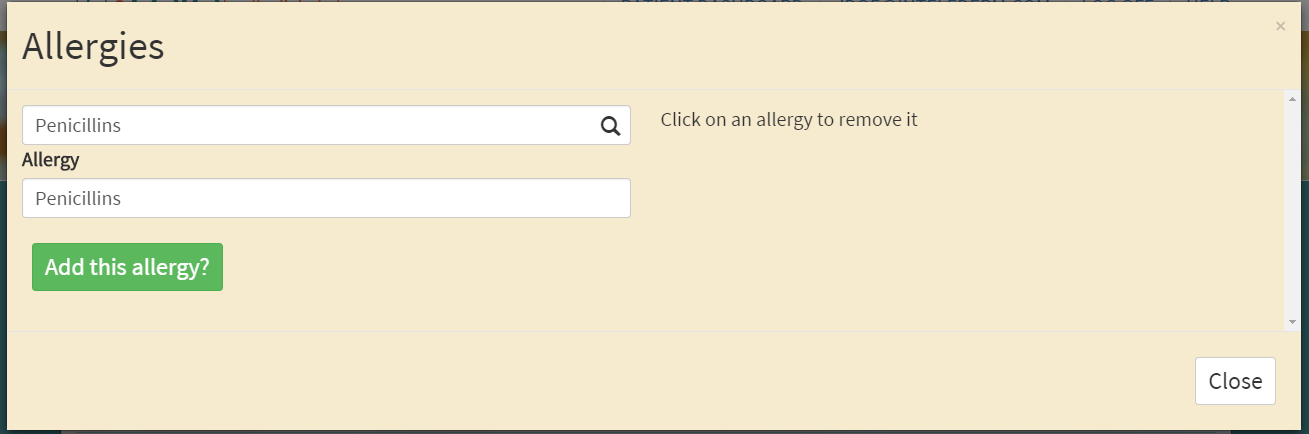
To enter your allergies, search for an allergen by entering at least 3 letters. Similar to the medications, once you've entered 3 letters, a list of allergens will appear for you to choose from. Click on the allergen name. If you need to remove an allergen, either because it is an error, or you no longer have that allergy, click on the allergen to remove it.
After you have entered your medical history, you will then be taken to the section for you to review your information and pay for your case. If you need to change some information, click on the edit button next to that section. This will allow you to edit the appropriate section. When you are done editing a section, click on the save button.
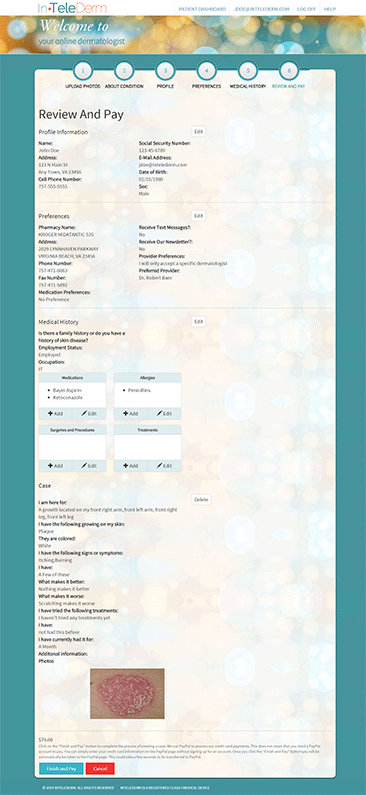
Once you are done reviewing all of your information, click on the finish and pay button. If you click on cancel, you will be taken back to the patient dashboard and you can return later to pay for your case.

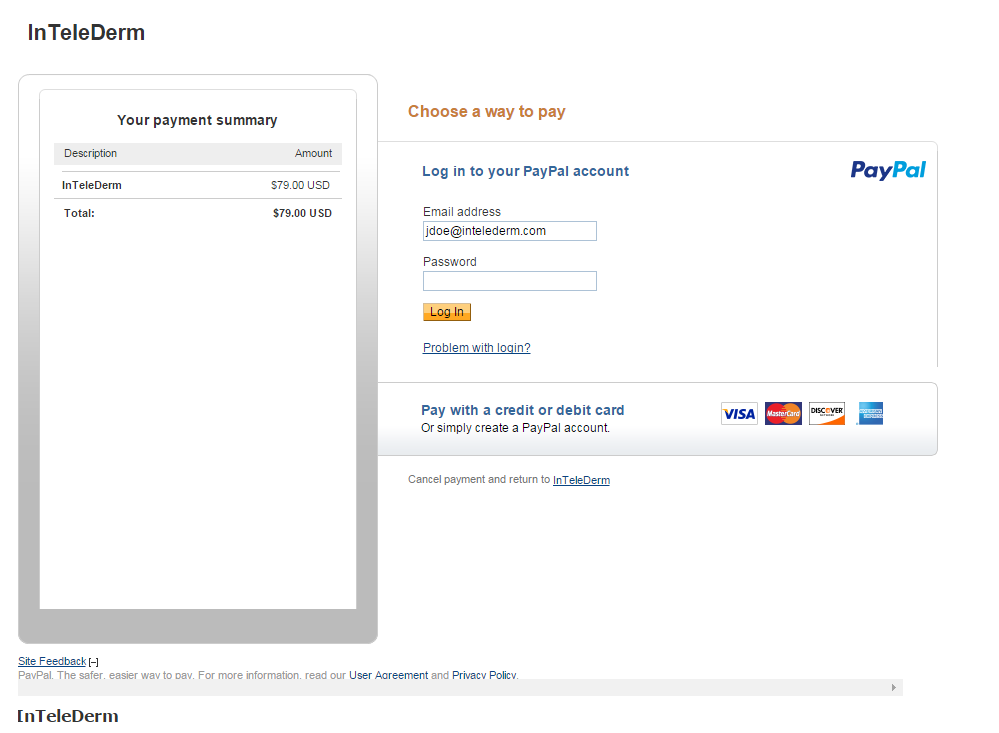
We utilize PayPal to process credit card payments. If you have a PayPal account you can log in to your account to pay for your case.
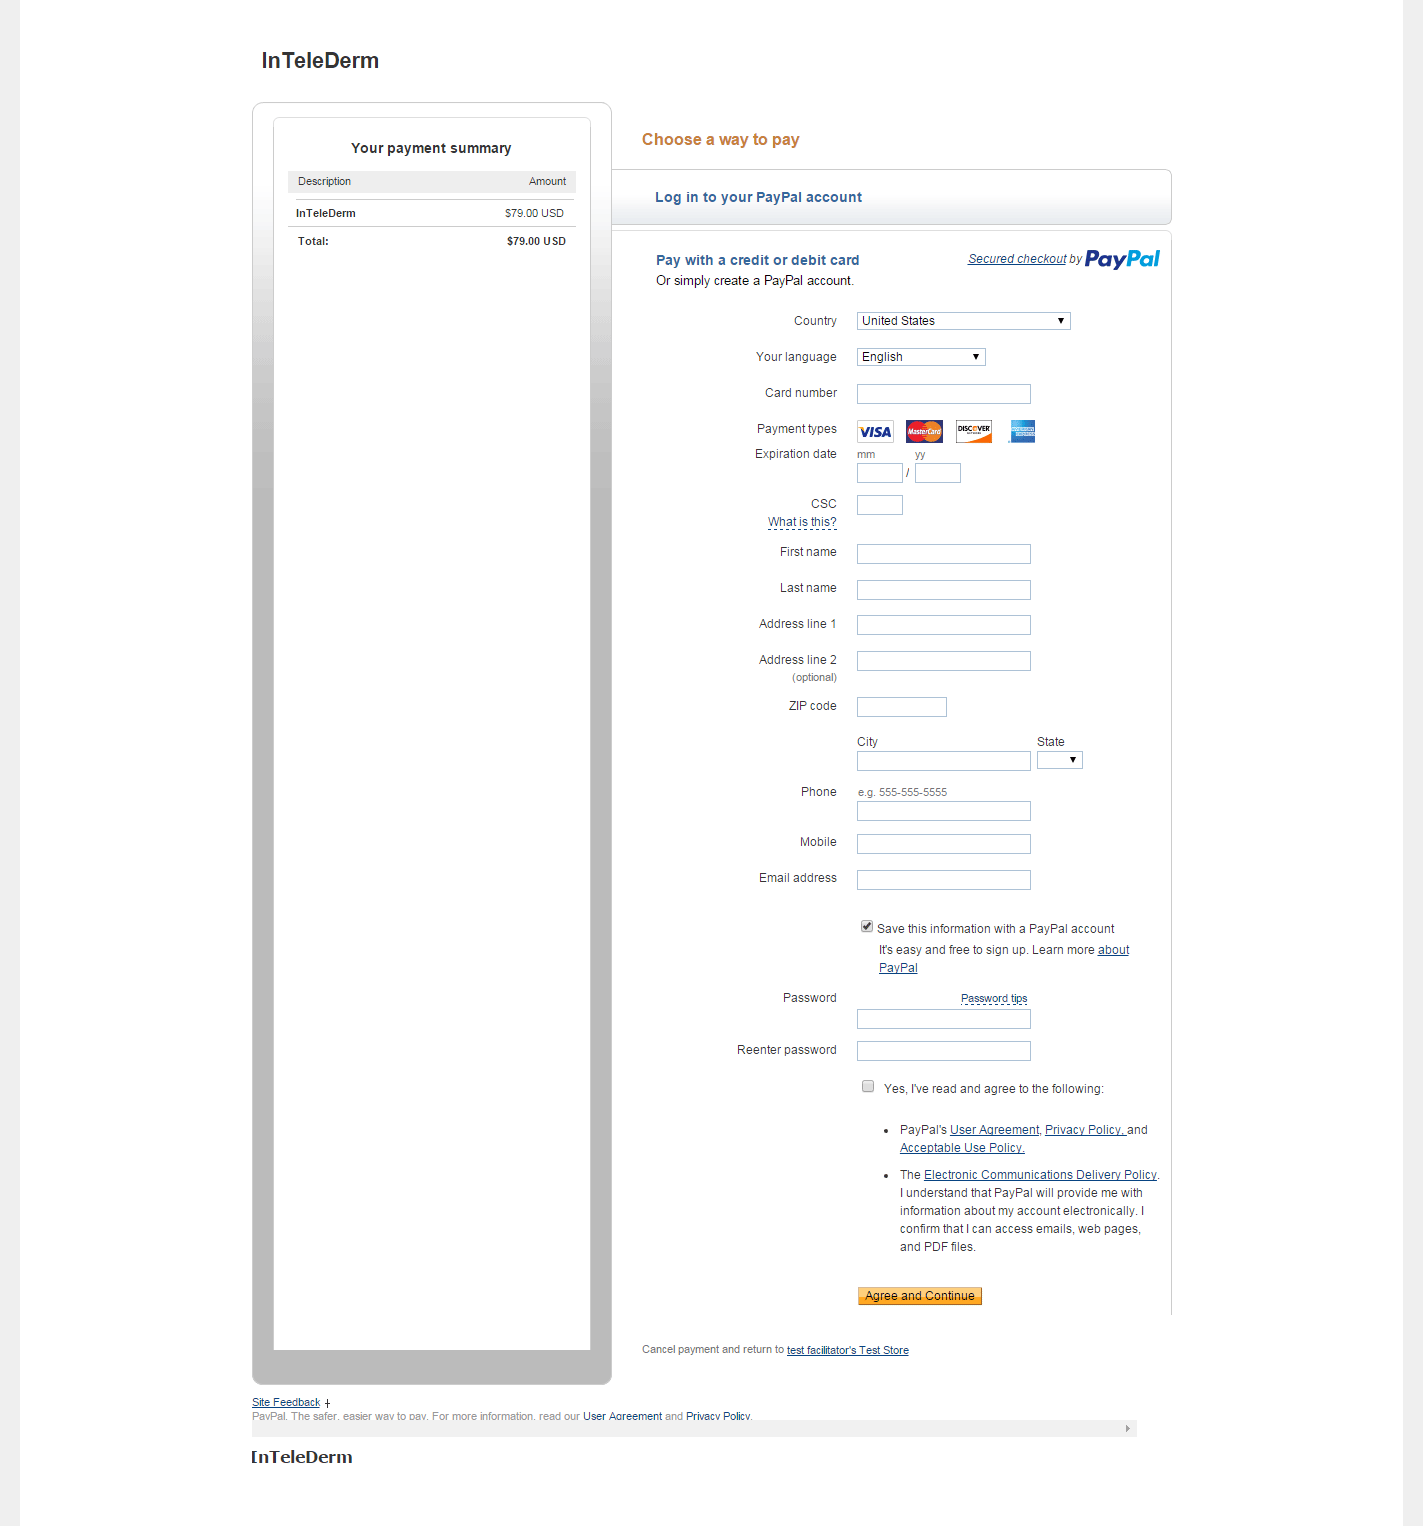
If you do not have a PayPal account, you can still pay with a credit card. Enter your credit card and billing information. If you would like to create a PayPal account with the credit card information you have entered, leave the check box checked to create an account.
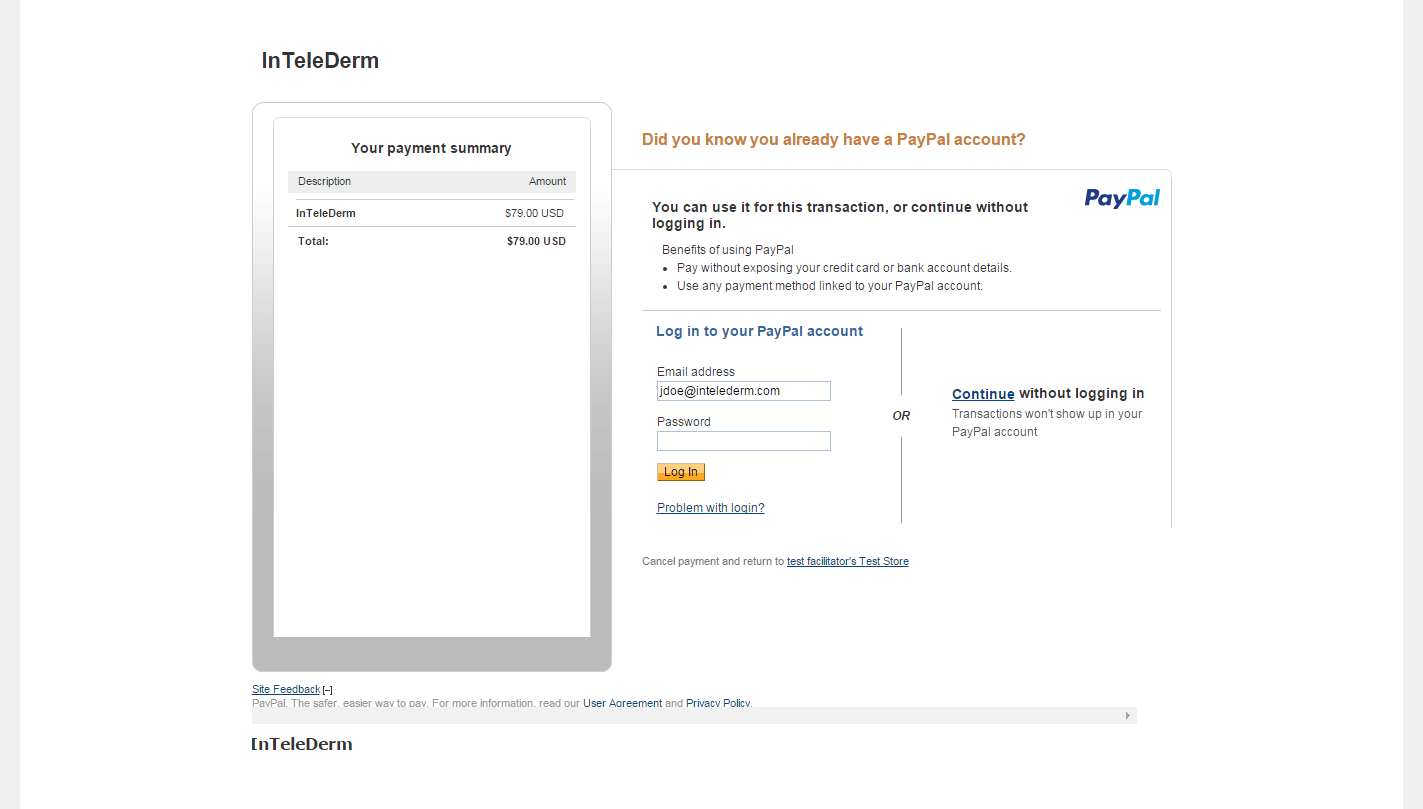
If PayPal recognizes the e-mail address as one belonging to an account it will let you know. You can either login to PayPal or continue with the credit card information you've already entered.
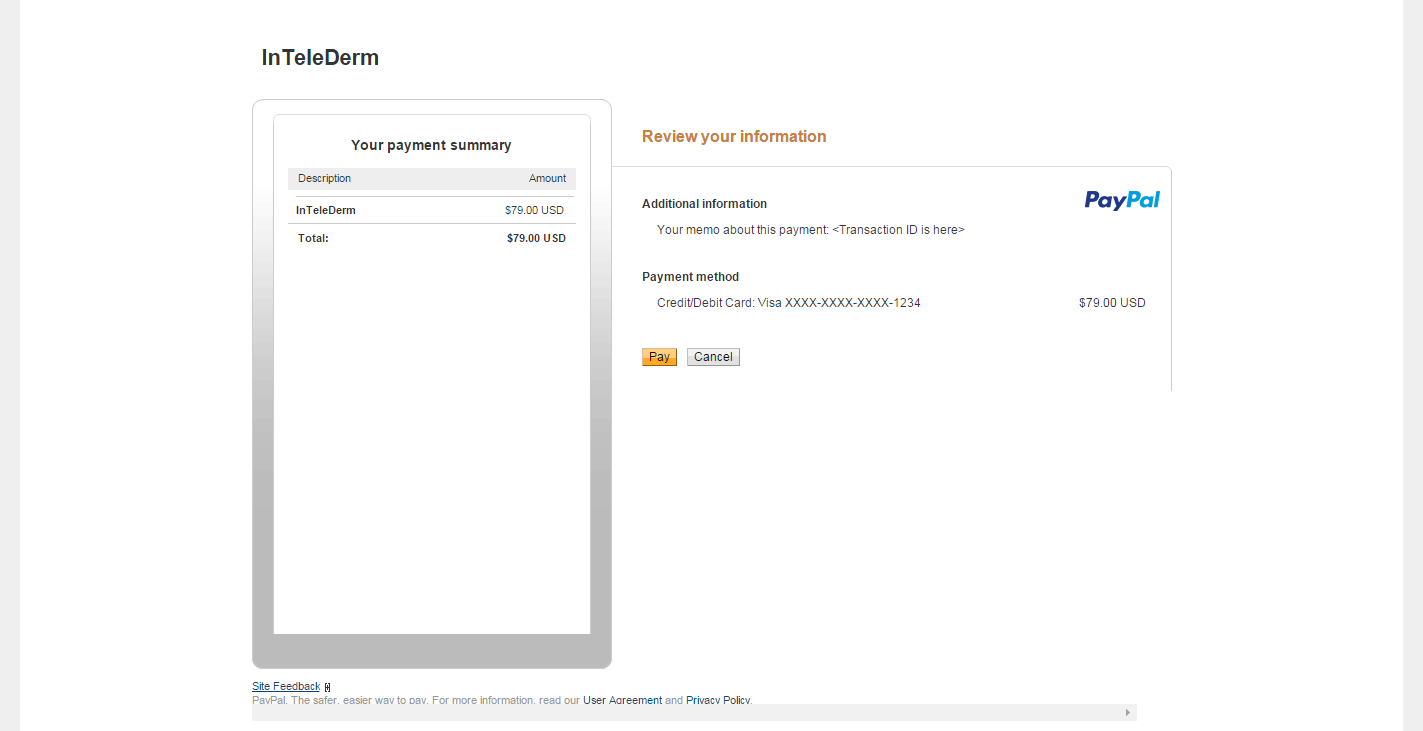
Once you've entered all of your information, click on the pay button. You will then be taken back to your patient dashboard on InTeleDerm.
After you are returned to the patient dashboard you can see the status of your case. After you complete your payment on PayPal your status will change to Payment Pending. Once we receive notification from PayPal that you have completed your case we will notify a provider that your case is available. This can take a few minutes, but is usually within a few seconds. If your status does not change with in 30 minutes or so, please contact us by logging a support case below.
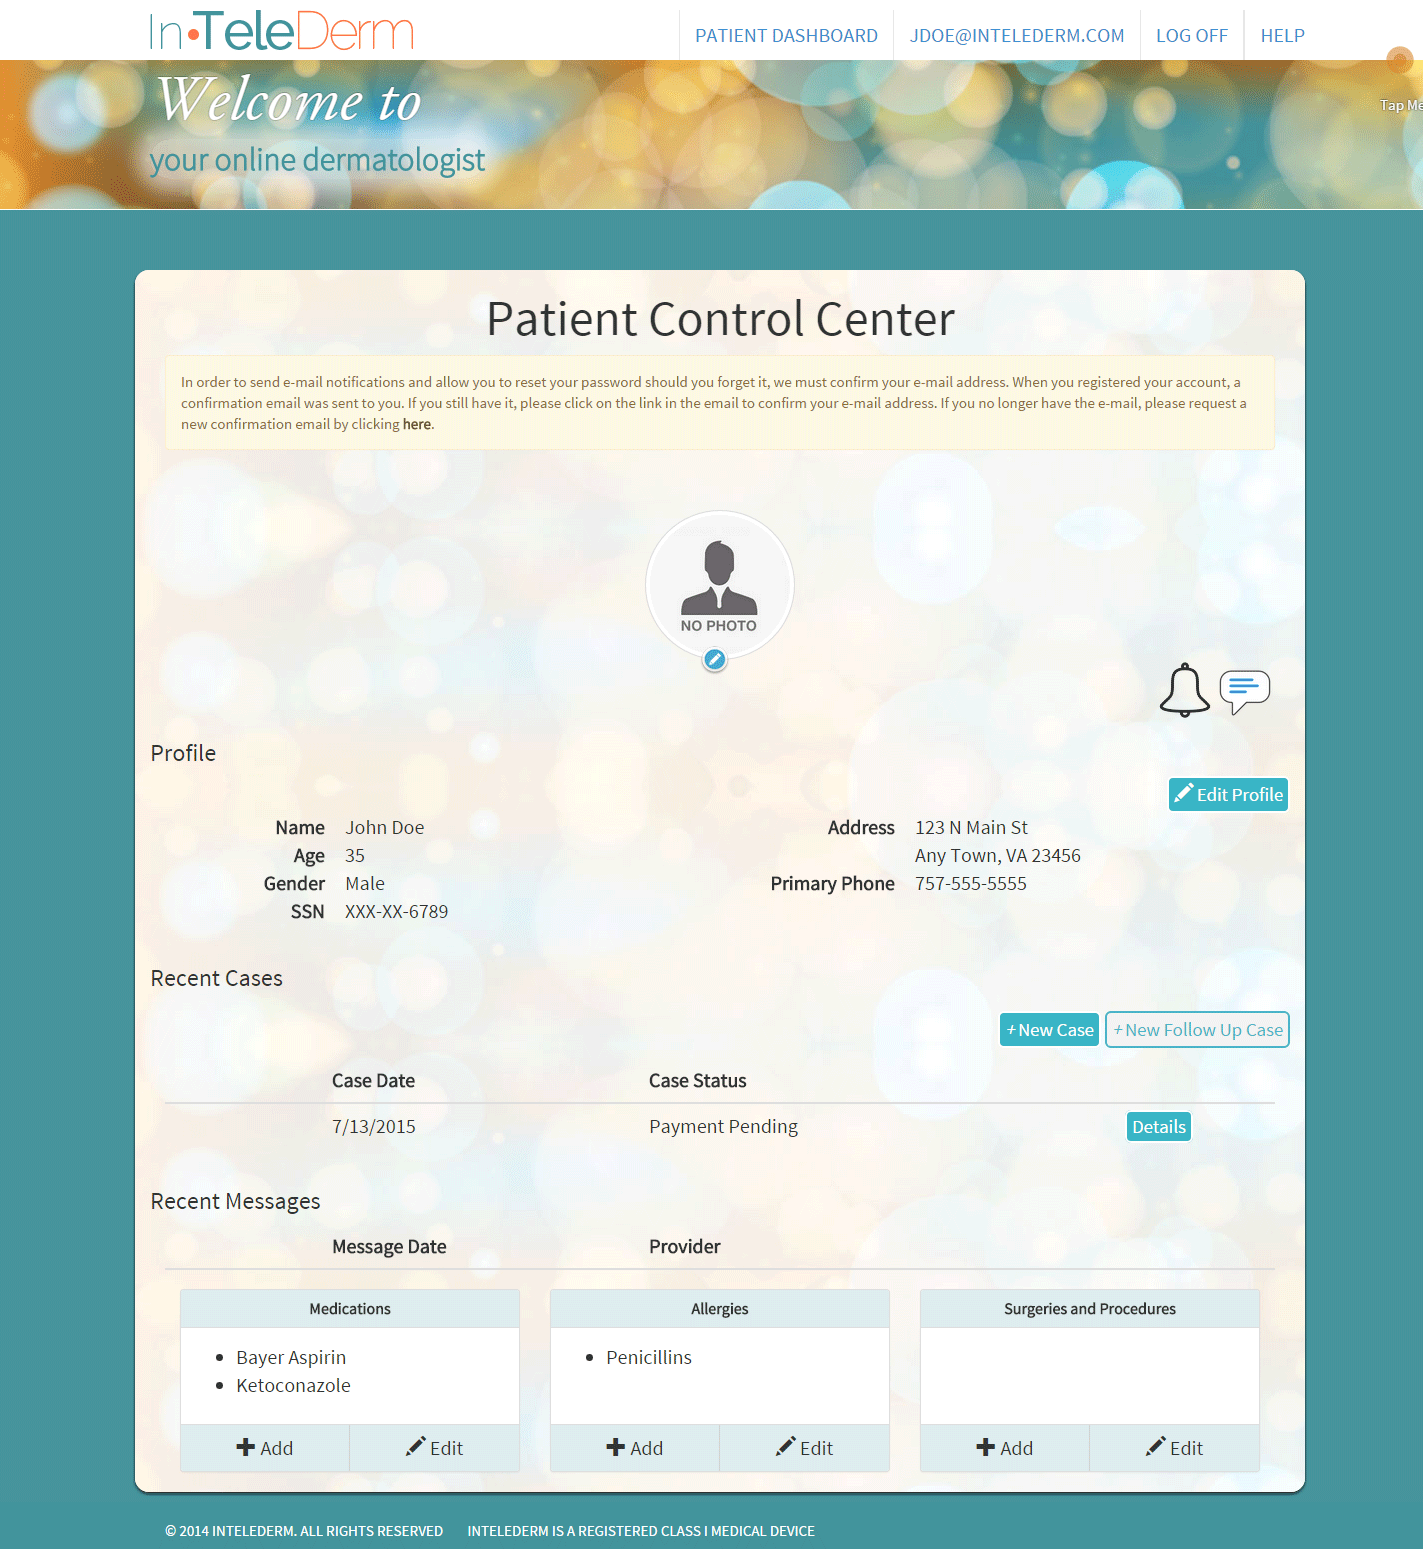
In the patient dashboard you are able to see the status of your cases. After we have received confirmation that you have completed your payment then the status of your case will change to Awaiting to be assigned to your provider. The other statuses are:

On the patient dashboard you will also be able to edit your profile. You can also upload a profile photo. This photo will be seen by the provider when messaging back and forth.
If you click on your e-mail address in the top right hand corner of the screen you will be taken to the Manage Account page. From this page you can reset your password. If you have chosen to create your account by using a social network to login, you can create an InTeleDerm password from this page. If you create a password you will be able to login with your social network login or your InTeleDerm password.
Please log in to create a support case. If you are unable to login or create an account, please contact us via the Contact Page